In this case, it’s a place for a friend to store clothespins while hanging the wash out to dry so it’s made the trip far West to Seattle. A half apron can be for just about anything, though, from cooking to gardening to holding tools or money. Super useful, very versatile, and totally easy as a DIY project.

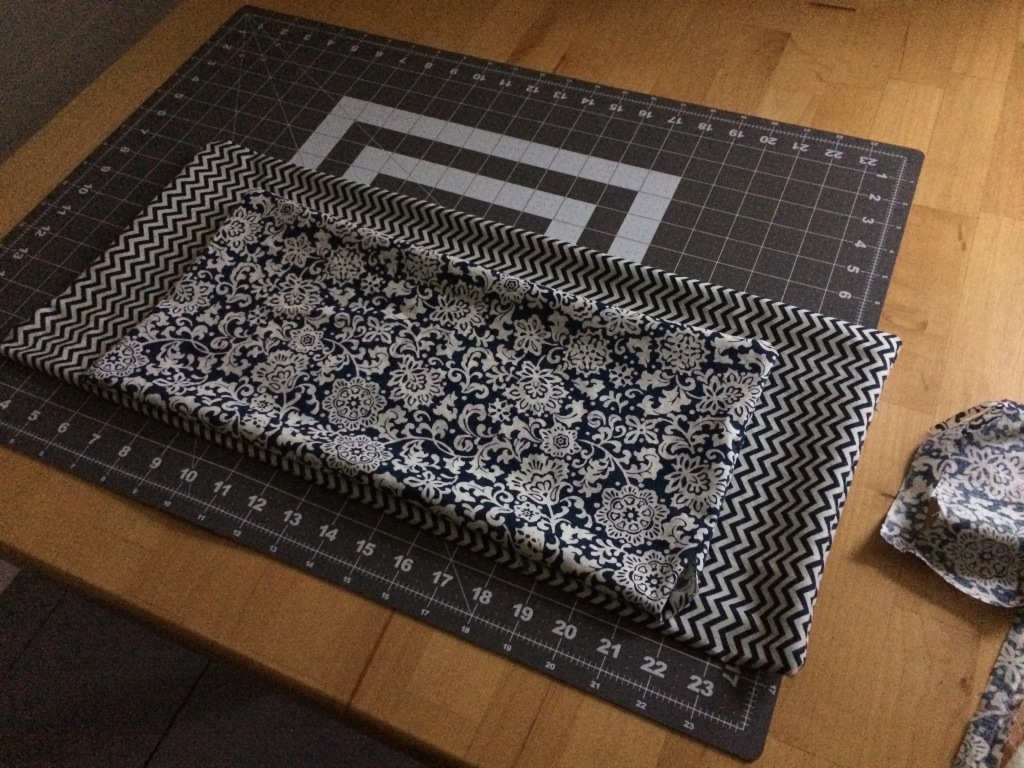
After you’ve selected your fabric make sure to wash and dry it to prevent any funky changes should it be washed later. I chose two patterns – one for the main apron panel and another for the pocket and belt that the tie goes through.
Cut your fabric. You’ll need two rectangles to stitch together or one big one that you fold in half and then stitch together. Choose whatever size you desire for your apron panel and pocket – you can even do multiple pockets or divide a single large pocket by stitching later on. Once you have your fabric cut, iron it.
Stitch along the edge of the panel pieces and the pocket pieces with the front of the fabric facing together, making sure not to stitch all the way around the border. You’ll leave a few inches unstitched so that you can turn the fabric right side out through the opening and have the face of the fabric on the correct side.
Here is the apron panel and pocket after having the edges sewn and being turned right side out. The openings where the fabric was turned can be seen.
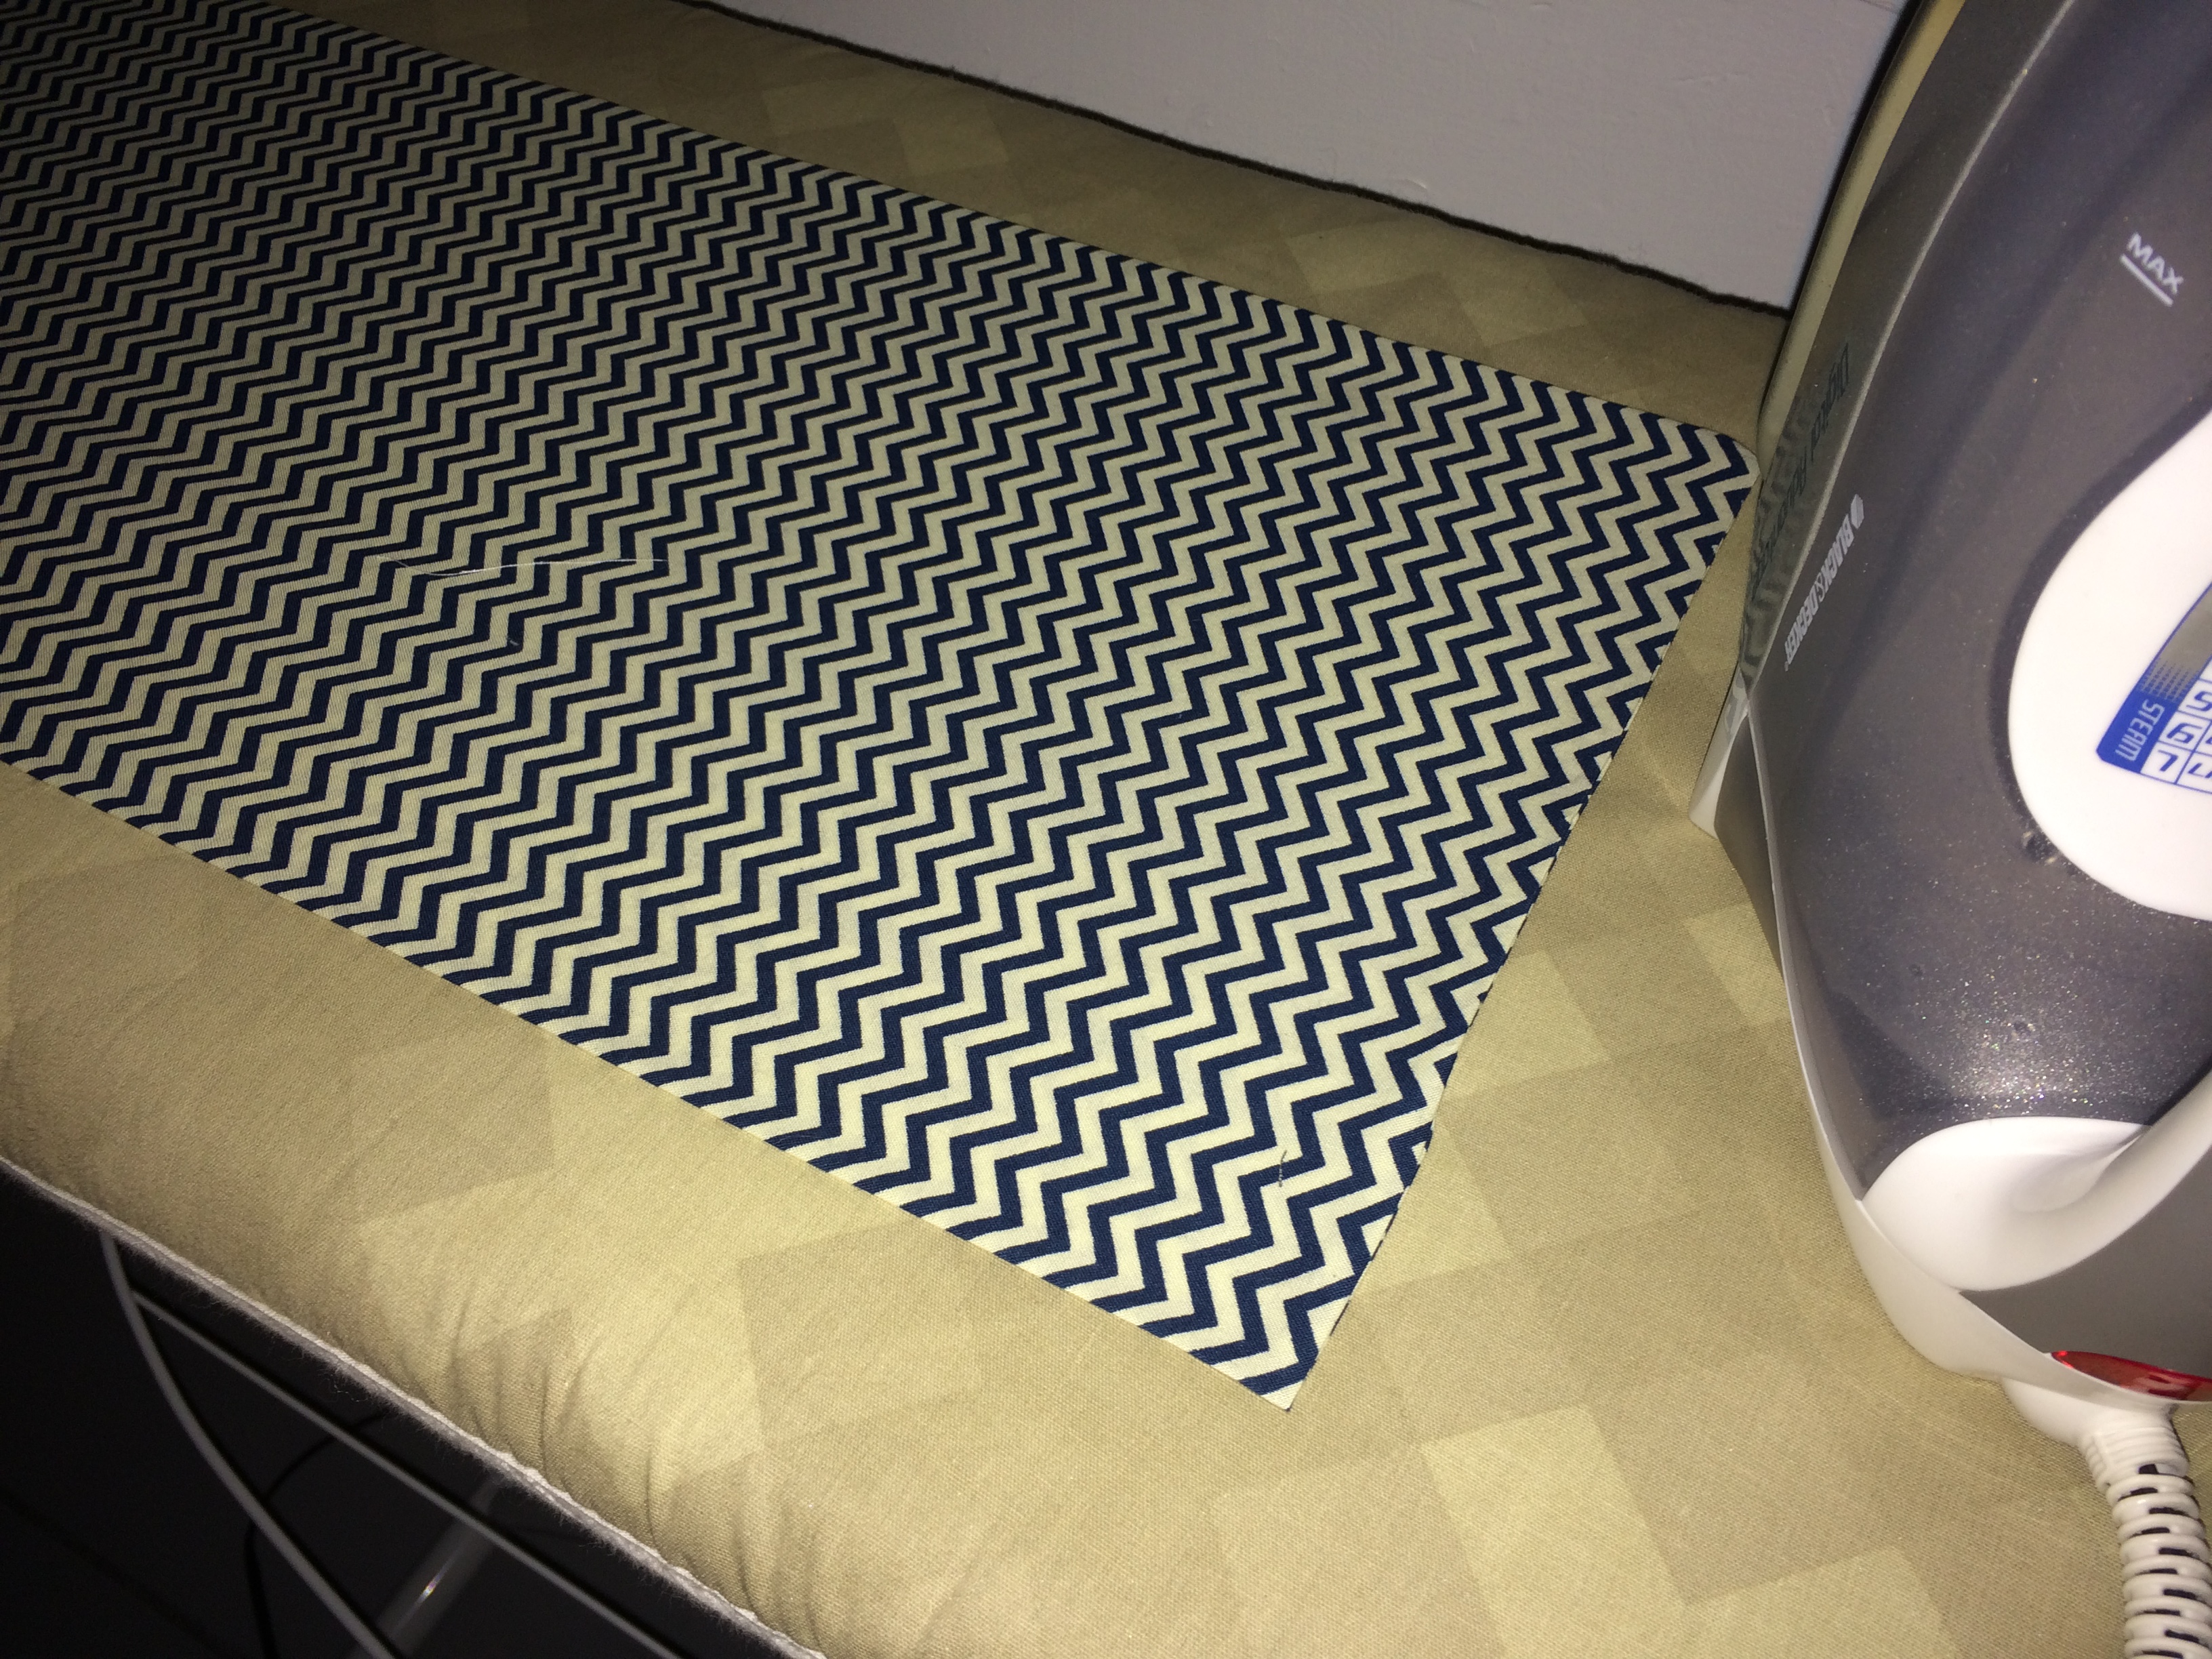
Next, iron the fabric flat so that it will be crisp and easy to stitch a border on. When ironing, tuck in the corner and fold the raw edge of the fabric that was left unsewn and iron it so it matches with the sewn edge. Do this for the main apron panel and the pocket panel.

Pick a stitch you like and sew a border around the ironed main panel. You can choose a matching thread so the stitching is less noticeable or a very different color for a fun contrast. Sew the top edge only of the pocket first. Place the pocket on top of the main apron panel and pin the three edges to be sewn onto the main apron panel. You will now sew the rest of the pocket’s border as you sew the pocket onto the main panel of the apron. Should you desire, you may sew a line down the middle of the pocket once it is on top of the main apron panel in order to create a divider and then have two pockets. This apron was made with only one large pocket.

Cut two strips of fabric for the belt/top of the apron where your ties will be. Make the strips twice as wide as you want your belt to be as you will eventually fold this fabric over. Sew these together with the face of the fabric facing in just as you did for the apron’s main panel and pocket but just sew the long sides or both long sides and one short side so that you can once again turn the fabric right side out. Iron the edges and tuck the open short sides inside the tube of fabric that you made and iron flat. Sew just the short edges of this belt.
Fold the strip of fabric in half and iron again. Place the edges of the fabric along the top edge of the apron making a sandwich with belt fabric, apron, and belt fabric. Or you can place both edges of the belt in front of the apron fabric as done in this case.

Pin and sew the belt to the apron with the stitch of your choice. 
Here a stitch that went across the border of the two fabrics was used to fuse the edges together on the front.
On the backside of the apron, you can see the stitching is below the top edge of the main apron panel so there is a small lip. If you were to sandwich the main apron panel between the belt fabric you would eliminate any sort of lip.

Once the fabric is sewn all that you need to complete the apron is some sort of tie. Here a basic webbing that can be purchased by the yard from a craft store was used. Buy more than you think you’ll need. Going around the waist and tying in the back still requires a lot of webbing to avoid having to make a teeny tiny bow. It can also be nice to be able to wrap the ties all the way around the waist and then tie the bow in the front. The webbing here is about two yards long to accomplish the front tie.
To insert the webbing through the belt of the apron you can tape one end of the webbing onto the tip of a chopstick, or pencil, and then pass the chopstick through the belt. It’s quick and easy. Holding onto the chopstick and bunching the fabric onto it makes things go even faster. Pull the chopstick through and you’re almost done. Put a knot in each end of the webbing to prevent fraying. Here a cotton webbing was used so burning the ends as you can do with many synthetic materials would not be wise.

Cool. I will share this to my wife maybe she’s interested to do this stuff. Thanks for sharing this DIY ideas.
LikeLike
Thanks for the comment! It’s surprisingly easy to do a lot of DIY stuff out there once you get over the fear.
LikeLiked by 1 person